Category: The Lab | Reading Time: 8 Minutes
There is a common disappointment among new urban explorers. You spend hundreds of dollars on the latest, greatest action camera. You watch YouTube reviews showing incredible 5K footage of people snowboarding on sunny mountains. Then, you take it into the basement of an abandoned factory.
The result? A grainy, unusable mess where the shadows are crushed into black blobs and the highlights from your flashlight are blown out into white nothingness.
The hard truth is that 90% of action cameras are designed for bright sunlight, not dark hallways. Their tiny sensors struggle desperately when the photons become scarce. But do not throw your camera away just yet. While they have limitations, you can get excellent, atmospheric footage in the dark if you stop using “Auto” mode and start understanding how your camera “sees.”
Here is the definitive guide to configuring an action camera for the challenging environment of urban exploration.
1. The Problem: Small Sensors vs. Big Darkness
To fix the problem, you need to understand the physics. An image sensor is like a bucket catching rain (light). A professional DSLR has a massive bucket. An action camera has a thimble.
When you are outside, it is pouring rain, so the thimble fills up instantly. Inside an abandoned building, it is barely drizzling. To get a picture, the camera has to amplify that weak signal electrically. This amplification is called ISO. The higher the ISO, the more the camera guesses what should be in the dark areas. Those guesses appear as digital “noise” or grain.
Your goal in low light is to give that tiny sensor as much help as possible so it does not have to rely on high ISO amplification.
2. The Golden Rule: Cap Your ISO
When you leave your camera in “Auto,” it panics in the dark. It will ramp the ISO up to 3200 or 6400 to try and make the image bright. This is what ruins your footage.
The Fix: You must switch to “Pro” or “Manual” mode and set an ISO Limit.
- Ideal Scenario: Cap ISO at 800. This will give you the cleanest image, but it might be too dark if your flashlight is not powerful.
- Realistic Scenario: Cap ISO at 1600. This is usually the sweet spot for modern action cameras in a dark building. You will see some grain, but it will be manageable.
- Never: Do not let your camera go above ISO 1600 unless you are purely documenting something for safety and do not care about image quality.
3. Frame Rate: Slow Down to Let Light In
Action cameras boast high frame rates like 60fps, 120fps, or even 240fps for slow motion. In low light, high frame rates are the enemy.
Think of the shutter as a curtain opening and closing. At 60 frames per second (fps), that curtain is open for a tiny fraction of a second. Very little light gets in.
The Fix: Drop your frame rate to 24fps or 30fps. By shooting at a slower frame rate, the shutter stays open longer for every frame, allowing significantly more light to hit the sensor without needing to raise the ISO. Your footage will not be super smooth slow motion ready, but it will actually be visible.
4. The Color Profile: Shoot “Flat”
In “Standard” or “Vivid” color modes, the camera tries to process the image instantly, adding contrast and saturation. In a dark building with bright flashlight beams, this crushes the details in the shadows and blows out the highlights.
The Fix: Switch your color profile to “Flat” or “Log.”
The image on the screen will look grey, washed out, and boring. This is good. A flat profile preserves the maximum amount of data in both the darkest shadows and brightest highlights. You must bring the contrast and color back during editing (color grading), but you will have a much higher quality image to work with.
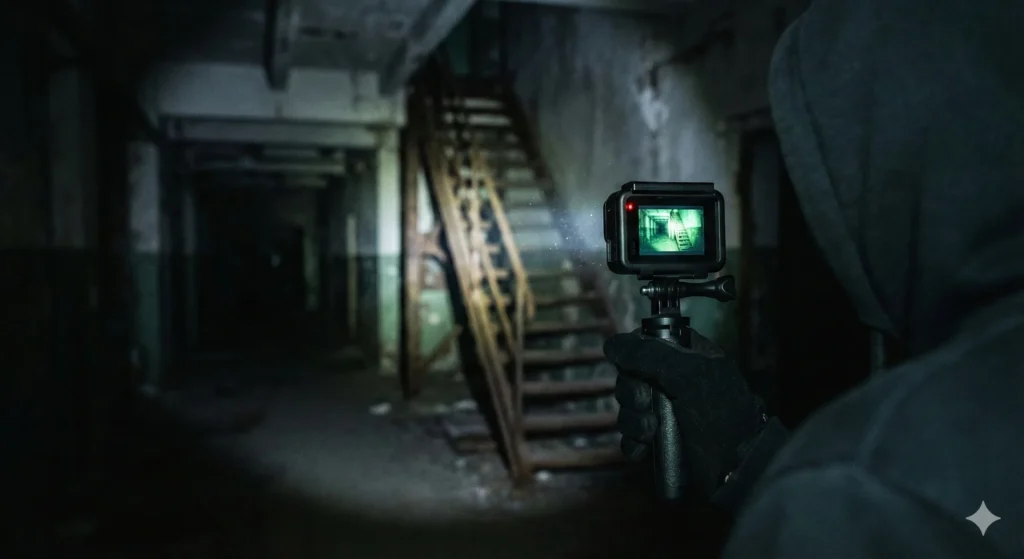
5. The “Two Light” Technique
No matter your settings, a camera cannot see total darkness. You need to provide the light. The mistake beginners make is relying solely on a headlamp.
A headlamp comes from right above the lens, creating a “flat” image with no shadows to define depth. It also tends to overexpose whatever is right in front of you (like your hands or dust floating in the air).
The Fix: Use an off camera light.
Hold your primary, high lumen flashlight in your free hand, down low and to the side. This creates shadows that give the room depth and texture, making the footage look cinematic rather than like a police bodycam video.
6. Hardware: What Features Actually Matter?
If you are in the market for a new camera specifically for urbex, ignore the “K” resolution numbers. Look at these two specs instead:
- Sensor Size: Bigger is always better. A camera with a 1 inch sensor will obliterate a standard action camera in low light every time. It physically catches more light.
- Lens Aperture: This is the size of the hole that lets light through. Look for a lower “f stop” number. An f/2.4 lens lets in more light than an f/2.8 lens.
Conclusion
Capturing great video in abandoned places is a balancing act. You are constantly fighting the limitations of small technology in a hostile lighting environment. By taking control of your settings, capping your ISO, slowing your shutter speed, and shooting flat, you can turn that grainy mess into moody, atmospheric documentation of your explorations.
Stop hoping “Auto” will figure it out. It will not. Take control of the dark.